
Guest Writer: Kenzie Fitzpatrick
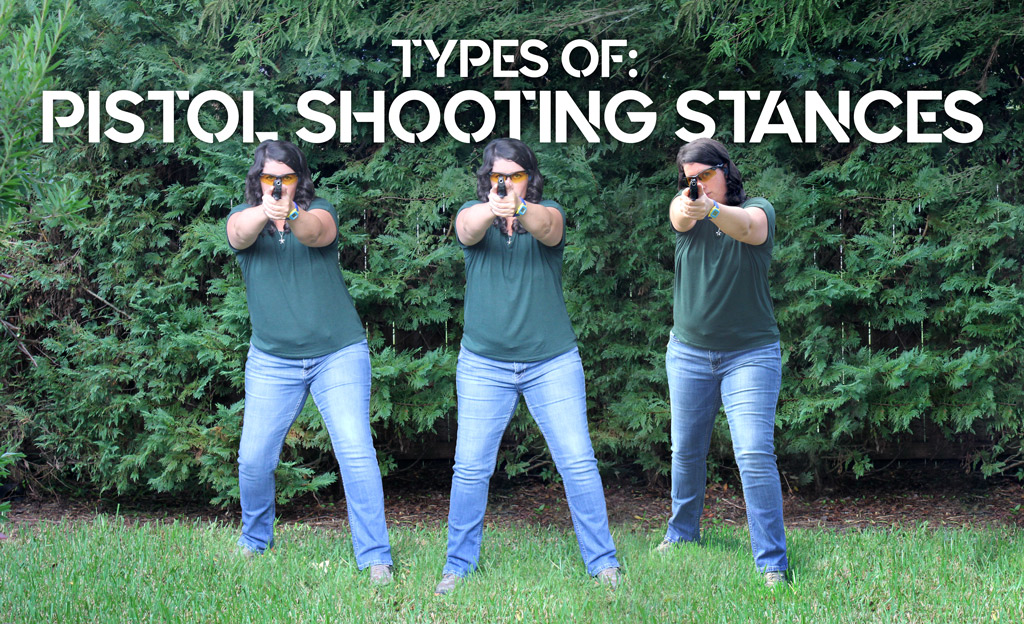
There are many pistol shooting stances used in the shooting world. Finding one that is comfortable to you takes time and is the most important part. In this blog, we’ll review the most popular stances and talk about how building a foundation each time you shoot is key to properly aiming a pistol. Remember that just like there is no one gun that fits everyone, there is no one shooting stance that fits everyone either. Find what works best for you and repeat it every time. Each stance serves a different purpose from competitive shooting and defensive situations to bullseye or one-handed shooting. The three most popular pistol shooting stances if you’re shooting at the range or competing in a match are the Isosceles, Weaver, and Chapman stances. Each of these stances creates a strong base with an aggressive bend in the knees towards the target.
Types Of Pistol Shooting Stances
Isosceles

The Isosceles stance is a well-balanced shooting stance with the feet evenly spaced, shoulder-width apart.
Isosceles is the most common of the pistol shooting stances. It is easy to get into position, allows for cross-eye dominant shooters to see their sights, and is applicable for many shooting scenarios. We named this position because of the shooter’s arms and chest creating an isosceles triangle. The foundation of this stance stems from the feet in a position shoulder-width apart squared directly at the intended target. Never lock your knees in any shooting stance. For the isosceles, bend your knees and move the weight of your body more toward your toes. You should extend both arms out, creating the sides of the triangle pointed directly at the target. The key to this stance is stability. The recoil management of the gun is controlled, but if your feet are not firmly planted or the weight shifts to your heels, you could lose balance and fall backward. Never let your back arch backward by always leaning slightly forward from the hips forward.
Weaver

The Weaver stance is a power position with the non-dominant leg kept 8-10″ inches behind the body.
The Weaver stance is named after the Los Angeles County Sheriff who developed it, Jack Weaver. The way I like to describe the base of this stance is a boxer stance. Push your non-dominant leg out in front of your dominant leg at least 8-10 inches. This creates a wide, aggressive stance. Your entire body is leaning forward toward the intended target. You should point the toes of your non-dominant foot directly at the target while pointing your dominant foot toes outward at a 45-degree angle.
The difficulty of this position is getting your arm placements down. The concept with your hands is a push-pull movement. Your strong arm will have a slight bend in the elbow and your strong hand pushes the gun forward. Your support arm will be at a 45-degree angle with your support hand pulling back on the gun. With your non-dominant leg forward, that same shoulder is leaning forward into the stance while your dominant shoulder is pulled backward. The ability to manage recoil should increase with the push-pull method being used.
There is a downside to this stance. Cross-eye dominant shooters have a harder time acquiring their line of sight using this stance. It’s also a lot harder to move toward your non-dominant side as your leg extension would have to move toward the next intended target.
Chapman
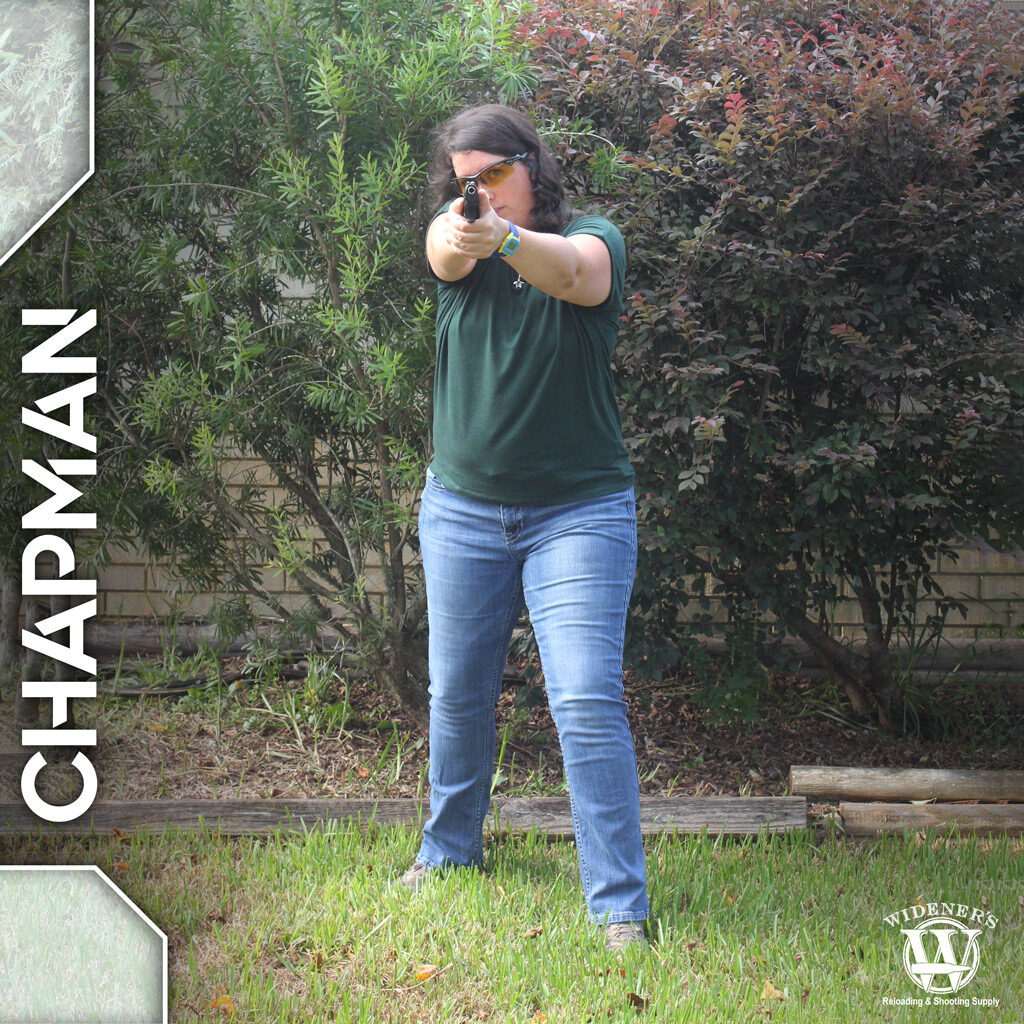
The Chapman stance allows cross-eye dominant shooters a stable platform for accuracy and recoil management.
Competitive shooter Ray Chapman developed the Chapman stance. It is a modification of the Weaver Stance. Instead of slightly bending your dominant arm, it’s completely straight. It’s the shooter’s preference, but you can form a cheek weld on the dominant arm. This stance was designed to improve the cross-eye dominant shooter’s ability to aim as well as deliver improved recoil management with the straight arm. In some defensive situations, if you are carrying anything in one arm, you might use a one-handed grip and stance to defend yourself.
We use one-handed pistol shooting stances in competitions, like a bullseye competition. You can also use them in competitions with specific written stage briefs that require a strong hand or weak hand only shot. Good shooters will work on their biggest weaknesses first and make sure they are a well-rounded shooter. Not practicing one-handed shooting can be costly, so give these stances a try as well and see what your go-to stance would be.
Defensive Shooting Stances
Power Point

Power Point is a defensive shooting stance that allows for stability with weak or strong hand shots.
This shooting stance is used to take a shot with either your weak hand or strong hand only. The goal in the development of this stance was to be as stable as possible and still be able to deliver accurate close-range fire. As with the Weaver stance, think of this stance as driving a boxer punch. The gun-side foot is forward, towards the intended target with the same side shoulder pushing towards the gun. Your non-shooting hand is tucked into your chest with your hand balled up into a fist as if you’re also ready to defend. Keeping your non-shooting arm bent and close to your body. This will help keep your shoulder back and allow for a more stable one-handed shot.
Strong Hand Retention

Strong Hand Retention is a defensive shooting stance useful for close-quarters combat situations.
While you can use the Power Point stance in any range or defensive situation, for close-quarters combat, you might choose the strong hand retention stance. You’ll always tuck the non-shooting hand into your shoulder. Keep your fist closed in case of needing to throw a defensive punch.
You’re most likely to use this stance in a situation where you want to keep a threat from grabbing the gun from out of your hands and you just need to quickly get shots off. Your gun arm elbow is bent and tucked way back so your shooting hand is holding the gun with the muzzle not far past that of the stomach. Depending on the situation, your feet will not be in a specific position, especially if you’re being attacked. Try to be as stable as possible so as to not lose balance when it matters most.
Stand Your Ground
There are two big lessons I have learned during my time in the shooting world. Never let someone tell you that you have to shoot or stand one way only. When it comes to pistol shooting stances, one size does not fit all. When it comes to pistol stances, or even choosing a pistol, you need to go with an option that is right for you. It is unimportant what someone else has or does, because you may be completely different than they are. Just like you should try out many pistols before buying, try out each pistol shooting stance to find the option that works for you. Practice and train with your pistol and the type of ammo you plan to use or carry. You may find that more than one stance works for you. It’s also likely that different stances work well in a variety of different training situations. You are only as good as your weakest shot. So always practice your weaknesses on top of your strengths.
You may also like
