Guest Writer: Kenzie Fitzpatrick
Learning how to aim with iron sights is a skill every gun owner needs to know. If you’re a new gun owner be aware that it takes patience and practice. Even many veteran gun owners struggle with mastering the technique. Since most firearms come with factory iron sights, it’s a good idea to learn how to aim with them.
Understanding how to sight-in a target is the first step in successfully aiming with iron sights. Precision is achieved by correctly aligning the sight radius of the firearm. The sight radius is the distance from the rear sight to the front sight. Rifles are built for precision shooting at distances because their sight radius is longer than that of a pistol.
Types Of Iron Sights
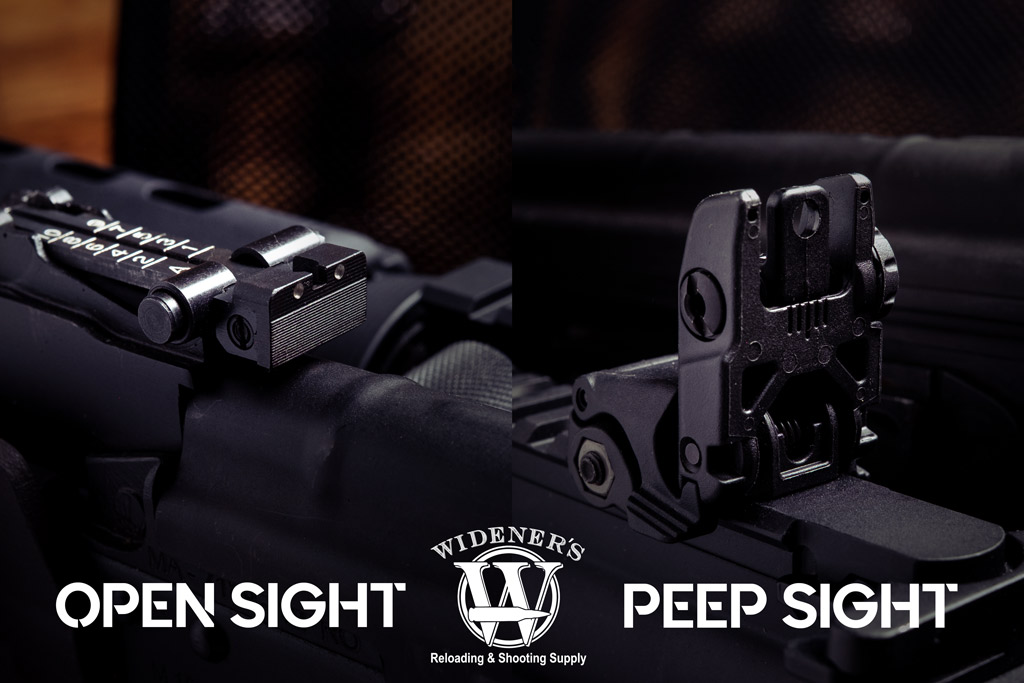
An open rear sight allows the user to look directly down the barrel of the gun to align the notch with the front sight and the target. A peep sight allows the user to align a circular opening with the front sight and target for critical accuracy.
There are two main types of iron sights – open sights and aperture or peep sights. An open sight is any form of rear sight that features a notch. An aperture or peep sight has a circular hole as a rear sight.
Aiming With An Open Rear Sight
Rear sights come in many shapes and forms. There are rear sights shaped with a “U” cut out, “V” shaped, the bottom half of a square, the bottom of a triangle, and more. With each variety of rear sights, the principles still remain the same. However, each rear sight may take getting used to. The front sight should always be positioned in the middle of the rear sight (left and right side of the rear sight) and always align across the top of the rear sight so the front sight is not higher or lower. This is true no matter if your front sight is square-shaped, round, a dot, a triangle, or a bead.
Aiming With A Rear Peep Sight
A rear peep sight will be a round shaped rear sight that you will look through and find the front sight in. The post front sight will be centered through the rear peep sight where the top of the front sight is the length of the radius of the circle or half the diameter. A radius is a straight line from the center of a circle to the circumference of a circle.
This is a more difficult sight alignment as there are no indexing points to ensure your front sight is centered through your rear peep sight. This takes trial and error with a lot of practice to aim properly.
Aiming With A Rear Peep Sight & Aperture Front Sight
This sight set up includes a rear peep sight that is still round-shaped, with an aperture or hole as the front sight. The correct sight alignment for these sights is centering the front aperture sight through the rear peep sight. The circle of the aperture should be equidistant from the circle of the rear peep sight. The correct sight picture is easier to see as your target is centered in the aperture front sight with the rest of your aim lining up from there.
Aiming For Accuracy
Aiming is the process of achieving the proper alignment between the rear sight, the front sight, and the target. Several factors contribute to achieving consistent accuracy when learning how to aim with iron sights. The number one rule of shooting with iron sights is front sight focus. Everything else comes secondary.
How to Aim With Iron Sights
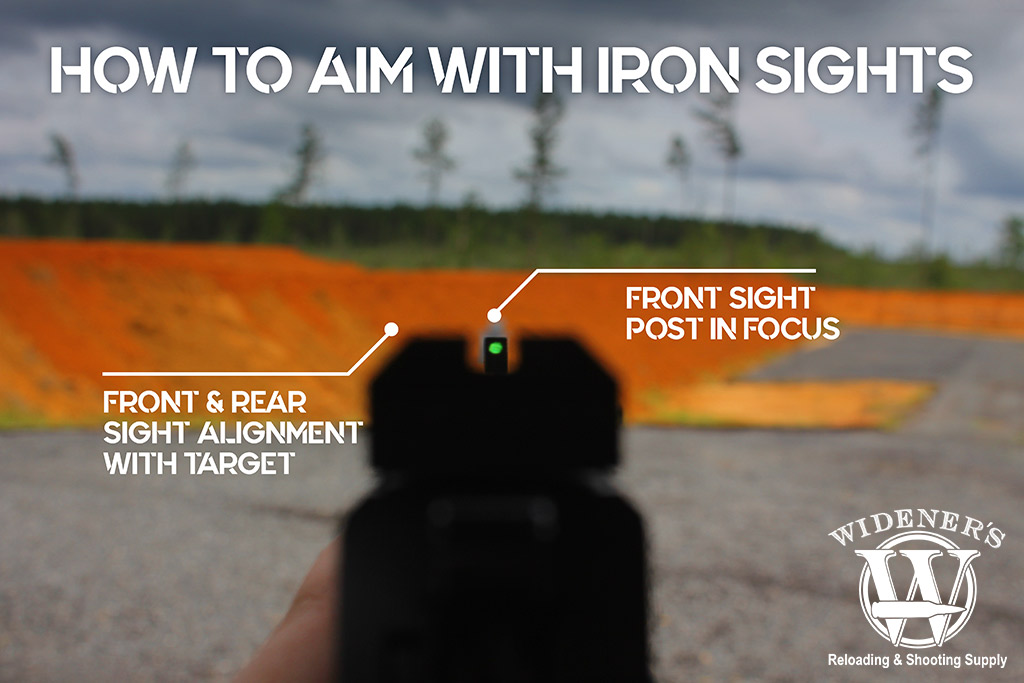
How to aim with iron sights: Align the front and rear sights with the target, be sure that the front sight is in focus to your eyes in front of the target.
Here’s an easy step-by-step guide to how to aim with iron sights:
Sight Alignment
Sight alignment refers to the proper relationship of the pistol’s front and rear sights. The perfect shot starts and ends with the perfect sight alignment. With open iron sights, the perfect sight alignment is where the front sight is at an equal height of the rear sight with equal light in between the front sight and rear sight.
If your rear sight has a dot on the left side and right side, and your front sight is a dot, lining up all three dead across is proper sight alignment. If your rear sight is “V” shaped, but your front sight is circle-shaped, the front circle should be centered in the “V” and not be any higher than the top of the rear sight.
Sight Picture
Proper sight picture is obtained when the aligned sights are put into their proper relationship with the target. When lining up your shot, always lead with lining up your front sight on where you want to shoot on your target. Your eyes can only focus on one thing at a time, so your focus will always be on your front sight.
Start by putting your front sight on the bullseye or spot you want to shoot on the target. Next, put your sights into the proper sight alignment. Focus your eyes on your front sight so that everything else is blurry. You should be able to maintain the proper sight alignment and picture while focused on your front sight. Now you’ll be ready to pull the trigger.
Breath Control
When learning how to aim with iron sights, breath control is important and can affect your shot. Our bodies are never at rest making it difficult to aim, but not impossible. Controlling our breathing and learning when to shoot while breathing is key.
Take a breath before each shot. Let out enough air to be comfortable, then fire the shot at the most relaxed moment when you’re the stillest. The best way to see when you’re most relaxed is to attach a laser to your gun to visually see the amount of movement you have. Always avoid holding your breath as this causes tremors, a lack of sufficient oxygen, and can result in poor fundamentals. This adds up to poor target hits.
Hold Control
Hold control allows the shooter to maintain proper sight alignment and sight picture while firing the shot. This is why pistol size and weight is so important when learning How To Choose A Gun. Similarly to breath control, the goal of holding the gun as still as possible is to minimize the arc of movement so the sight picture or alignment doesn’t alter. When aiming with iron sights, any movement or lack of control you have in these steps will move your sight alignment and picture which in turn, moves your shot.
Trigger Control
Trigger control is the proper method of activating the trigger to minimize movement that can misalign the iron sights. The proper trigger placement is between the fingertip and the first joint of the index or trigger finger. The only movement when you’re aiming and firing the gun, is moving your trigger finger rearward and making a smooth trigger press. If you pull the trigger with the tip of your finger or your first knuckle, you will move the gun left or right, which moves the front sight, and causes the shot to be off.
Follow Through
Follow through is what happens after you pull the trigger. Too many beginners make the mistake of skipping steps just to shoot faster and they lose fundamentals quickly. When you’re following through on the shot, you’re keeping a great shooting stance, you’re still focused on the front sight, your grip is still correct, and every fundamental is kept intact. Speed comes with time, but accuracy is earned with learning how to aim with iron sights.
Hitting The Target
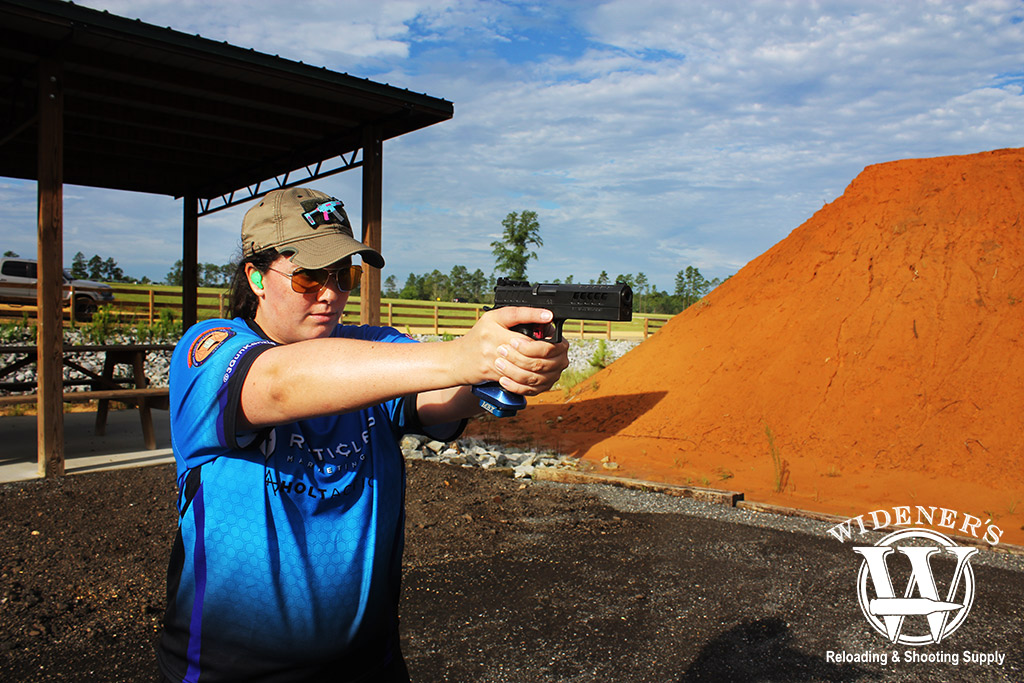
Can’t hit the target? Stop and take a look at where you are aiming versus where your shots are ending up.
One of the biggest lessons new shooters often miss is seeing and assessing where they are shooting in relation to where they were aiming. When you’re getting started buy practice ammo to learn shooting and aiming, your goal should be to learn from every shot. When you start shooting at an advanced level, you’ll know why you missed your target before you even see the shot. Good shooters assess their shots and make corrections to improve to become as accurate as possible.
When you look at the target after firing your first shot, do you stop and see where you hit? If you hit anywhere other than the center of the bullseye, do you know what went wrong in your shooting process? Was the front sight too high? Did you pull the trigger with your first knuckle rather than the pad of your finger? Were you looking at your target rather than focusing on the front sight? Did you hold your breath instead of breathing through the shot?
Every single fundamental goes into aiming a gun. Once you read your target, assess the shot, recalculate, retry, always learning from your shooting
Adjusting The Rear Sight As Needed
The most important lesson in learning how to aim with iron sights is that iron sights may still require sighting in. Everyone’s vision is a little bit different. Sighting a gun into your eyesight may take up much your time on your first trip to the range. Shoot groups of 3-5 shots to understand where your shots are grouping. Then see what adjustments you need to make to your iron sights.
Some rear sights are only adjustable for windage (left and right) while others can be adjusted for windage and elevation (up and down). If your rear sight doesn’t come with an adjustment tool or a dial to move the sight in a direction, it may require a sight pusher tool to move the rear sight left or right. If you’re shooting to the right and need to move the shots to the left to be more accurate, move the rear sight to the left. You always move your rear sight in the direction you want your hits to move. Similarly, if you’re shooting low and need to raise your hits, move the rear sight up or in the direction the shots should be hitting.
Aiming For Success
Once your gun is sighted into you, you should never have to readjust or move your iron sights again. Always repeat every step when taking aim and firing a shot. If you’re having difficulty setting up your sight alignment and picture, you may need to purchase aftermarket iron sights that you can see and pick up easily. One size never fits all in the firearm industry. Customize your gun to your eyesight and enjoy your firearm of choice!
How Accurate Are Iron Sights?
Overall, iron sights, when sighted in properly, are accurate as far as you can see. Masters of iron sights can accurately shoot out to 1000 yards and beyond, but it does take switching stock iron sights to specialized diopter and aperture sights. While shooting stock iron sights out to 200-300 yards may be doable, remember that your barrel twist, barrel length, and type of ammunition you use are all factors when you are looking to shoot with precision. Your groupings of shots at one target will determine how precise you are at that distance.
Iron Sights: Advantages & Disadvantages
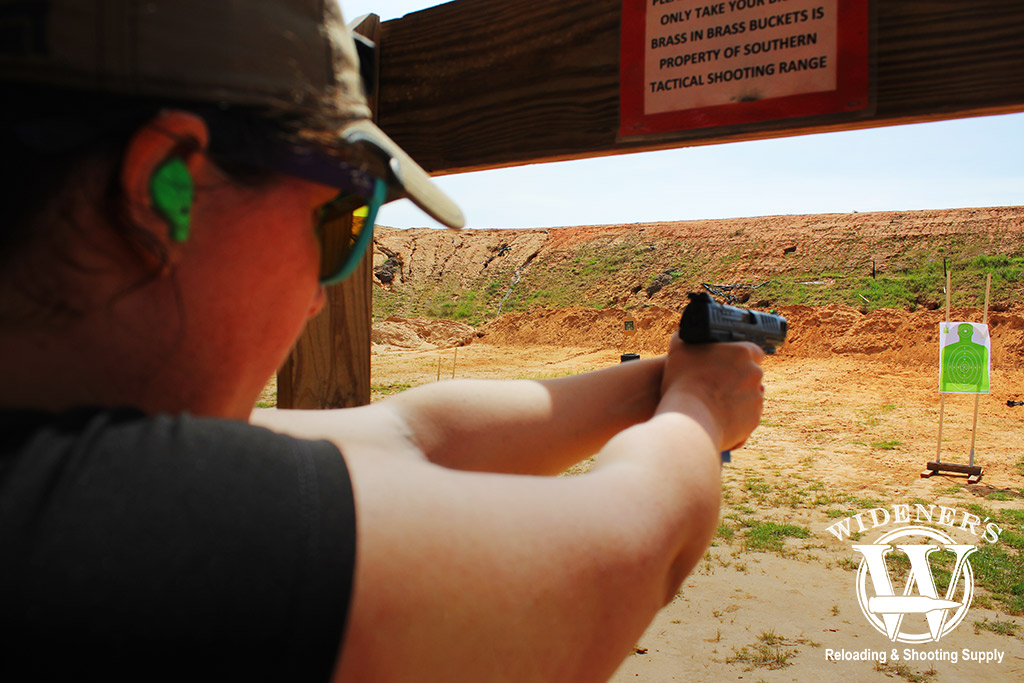
It may be more difficult to hit targets at a distance with iron sights, but they are durable and reliable once you have them properly adjusted.
Advantages To Using Iron Sights:
- Weight – Most iron sights do not add very much weight at all to the gun when scopes add several pounds to the overall weight of the gun. If you’re looking for a light build and not wanting to shoot very far, iron sights are advantageous over dots and scopes.
- Durability – Iron sights have been tested and used for years through many World Wars and have endured through all conditions. Many red dots and scopes can’t say the same. Iron sights are made to be durable.
- Low Maintenance – Many scopes and red dots require batteries to light the optic. Anything with a window will also require proper cleaning such as wiping down glass, applying anti-fog cream, and continuous upkeep to maintain a clear view of the optic. Iron sights typically require low to no maintenance.
- Cost-Efficient – Iron sights are very cheap and most always come with the gun you are purchasing, making them cost-efficient. Red dots and scopes are typically an after purchase and the most accurate and durable ones come at a high cost, sometimes more than the guns themselves.
Disadvantages To Using Iron Sights:
- Targets At A Distance – Since being accurate at a distance with iron sights requires you to see your target, the disadvantage with iron sights comes when you start to stretch out to higher distanced targets. Red dots without magnification are also at a disadvantage to seeing farther targets so a scope that has magnification will win in long-range target acquisition.
- Less Ability To Adjust – Some iron sights that are built into the gun or only attached to the Picatinny rail, are not adjustable for wind and elevation. If the sights are not adjustable, it’s difficult to sight the gun to your eyesight.
- Low Light Conditions – In low light conditions, it’s helpful to have an illuminated scope or a red dot that you’re able to see. When you can’t see your iron sights, they are useless. Upgrading your iron sights to night sights gives you more aiming flexibility in low light situations.
When learning to shoot a gun, always try and master shooting it with iron sights first and if you can, keep your iron sights on the gun even if you mount a red dot or scope. You never know when they’ll come in handy.


