Looking for instructions on how to clean an AR-15? We don’t have to underscore the importance of cleaning your AR-15 all that much. The residue and debris that accumulate within a firearm while it is fired can eventually cause it to malfunction. An AR-15 that fails to cycle or fire will be of little use whether you consider it a toy or the central element to your home defense strategy.
That’s why we’re going to tell you exactly how to clean an AR-15. You would ideally follow these steps after every time you shoot. Even the cheapest AR-15 is worth preserving!
These cleaning steps apply to any AR-15, regardless of its manufacturer or the cartridge it is chambered for. The AR-15’s convenient design means you only need a metal punch tool to field strip it. If you haven’t got one of those handy, the tip of a 5.56/223 bullet will do the job just as well. The only other thing you will need is a basic cleaning kit.
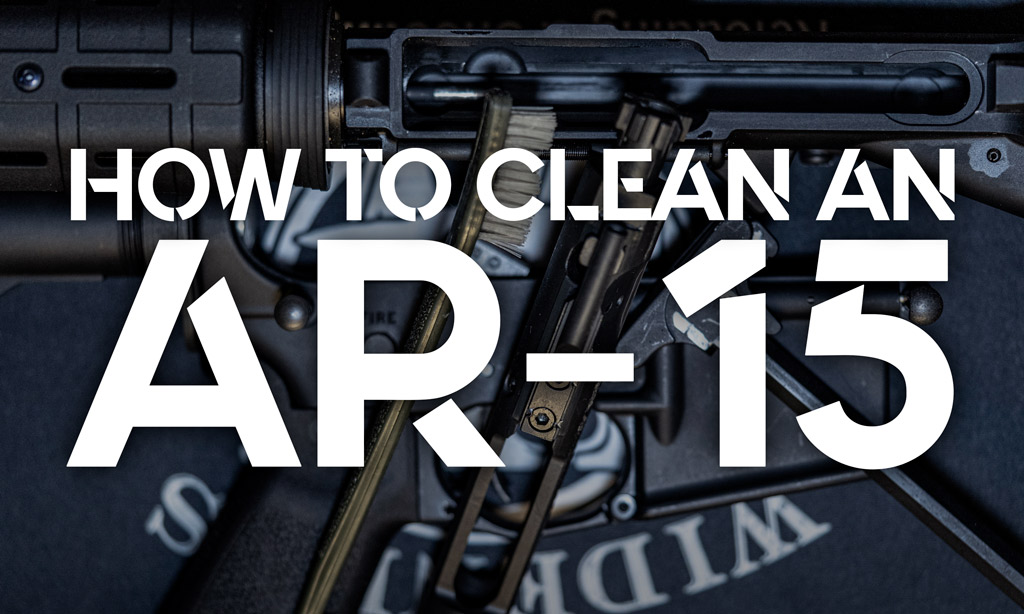
Steps To Clean An AR-15
- Eject the magazine. Pull back on the charging handle. Keeping your fingers away from the trigger, visually and physically inspect the AR-15 to make certain there is no cartridge in its chamber. Once you have ensured the AR-15 is incapable of firing, it is ready for cleaning.
- Place the AR-15 on its side so it points in a safe direction. (Although you have already ensured it cannot fire, you must always treat any firearm like it is loaded.) Using a punch tool or bullet tip, press inward on the rear takedown pin. Repeat on the front pivot pin. Turn the AR-15 over to pull upward on both pins until the upper receiver is detached from the lower receiver.
- Disassemble the AR-15 down to its three main components: upper receiver, lower receiver, and bolt carrier group. If you would like tips on how to field strip an AR-15, please check out our helpful video.
- Begin by cleaning the chamber and barrel. You may use either a cleaning rod with patches or a BoreSnake for this step. We’ll explain how to use both, but whichever you prefer always make certain to clean in the same direction as the path the bullet takes: from breech to muzzle.
Cleaning With A Cleaning Rod
Cleaning Rod: Attach a slotted tip to the cleaning rod. Prepare a cleaning patch with solvent and affix it to the cleaning rod. With the upper receiver pointed in a safe direction, insert the rod into the breech end of the barrel. Pass the rod throughout the barrel and through its muzzle to clear away any loose debris.
Replace the slotted tip with a brass brush. Insert it into the breech and rotate the brush as you make several more passes through the entire length of the barrel. Repeat until all residues stuck to the bore are loosened or cleared.
Replace the brass brush with the slotted tip. Prepare a cleaning patch with solvent and affix it to the cleaning rod. Clear the barrel of any remaining residue until your cleaning patch comes out completely clean.
Prepare a fresh cleaning patch with lubricant and affix it to the cleaning rod. Insert the rod into the breech end of the barrel and make several passes throughout the entire length of the barrel. Remove any excess lubricant with a dry cleaning patch if needed.
Cleaning With A BoreSnake
BoreSnake: Apply solvent to the first third of the BoreSnake (the end from which its weighted lanyard dangles). Pass the weighted lanyard through the breech end of the barrel and pull it all the way through to loosen and clear away debris.
Repeat the same process using the copper brush section of the BoreSnake. Repeat this step until you have ensured no residue remains stuck to the bore. If needed, reapply solvent to the first third of the BoreSnake and send it through the barrel until clean.
Finish by applying lubricant to the rear third of the BoreSnake (the end nearer to the loop). Send the weighted lanyard down the breech of the barrel and pull it all the way through to lubricate the bore.
How To Clean An AR-15: Chamber & Bolt Carrier

When cleaning your barrel, always push debris from the breech in the direction of the bullet path.
Now that the barrel is clean, continue on to the chamber. Dip the nylon brush in solvent. Rotate the upper receiver so that its chamber is facing you and begin brushing away all visible debris. Use a cotton swab to clean difficult-to-reach areas as needed. Wipe down the chamber with a clean patch or cotton rag. Finish by applying a thin film of lubricant to the chamber with a cotton rag, as well as any other areas that experience friction or movement.
Now that the chamber is clean, continue on to the bolt carrier group. If you are cleaning the AR-15 after firing many rounds of ammunition, you may find it more convenient to soak the bolt carrier group in solvent before continuing. You may omit this step if your bolt carrier appears relatively clean.
Bolt Carrier Group
- Disassemble the bolt carrier group into its five main components: firing pin retaining pin, firing pin, bolt cam pin, bolt, and bolt carrier. If your bolt carrier group is extremely dirty, you may use a punch tool or bullet tip to remove the extractor and extractor pin.
- Dip the nylon brush in solvent and scrub the bolt carrier, making certain to work the bristles into the grooves and edges. Continue cleaning each component of the bolt carrier group with the brush until all debris and residue are loosened.
- Remove any visible residue from the firing pin, firing pin retaining pin, and extractor pin. Use a cotton swab dipped in solvent to reach difficult-to-reach areas of the bolt cam pin, bolt, bolt carrier, and extractor. You may also use a swab to clean out the inside of your AR-15’s gas key.
- Reassemble the bolt and bolt carrier group. As you do so, use a patch or cotton rag to apply a thin film of lubricant to the surfaces of all parts within the bolt carrier group. Wipe off excess lubricant as needed.
Don’t Forget The Buffer Tube
Dip a cotton rag in lubricant. Wipe down the charging handle before returning it to the reassembled bolt carrier group. Place the charging handle back on the bolt carrier group, sliding it back into place within the upper receiver.
Clean the buffer tube assembly. Press down on the buffer detent pin with a punch tool or bullet tip, and then slowly remove the buffer spring and tube. Dip a cotton rag in lubricant to wipe down the buffer spring. Return the buffer spring assembly back within the AR-15 stock.
Apply small amounts of lubricant to the pins, inside of the rails, and within the interior of the AR-15. Apply additional lubricant to any parts of the AR-15 that encounter friction or movement. Remove any excess lubricant with a patch or cotton rag.
Your AR-15 is now ready for reassembly.
AR-15 Maintenance

Keeping your rifle clean and doing basic maintenance is an important part of being a responsible gun owner.
Congratulations! You have succeeded at cleaning your AR-15. Celebrate being so responsible by taking your AR-15 to the gun range and getting it all dirty again. When you are ready for a reload, be sure to check out the great prices on AR-15 ammunition and accessories on Wideners.com!
You may also like